{"slug":"install-emulator-pcsx2-ps2-pc","locale":"en","isFallback":false,"translationAvailable":["en","id"],"translationUrls":{"en":"/api/posts/install-emulator-pcsx2-ps2-pc?locale=en","id":"/api/posts/install-emulator-pcsx2-ps2-pc?locale=id"},"title":"How to Install PCSX2 Emulator to Play PS2 Games on PC","description":"Complete guide to install the PCSX2 PS2 emulator on PC, including BIOS setup, controller configuration, and performance tuning with screenshots.","date":"2026-03-12","updated":null,"tags":["windows","gaming","emulator","pcsx2"],"category":"Tutorial","content":"\nThe PS2 emulator, PCSX2, is a fantastic way to replay legendary PlayStation 2 games directly on your laptop or computer. I've been using it for a while to revisit old favorites, and honestly, the experience is often better than the original hardware. PCSX2 is a free and *open-source* emulator that has been in development for nearly 20 years. While its initial versions could only run a few demos, modern releases can now play almost all PS2 games smoothly, including iconic titles like **Final Fantasy X** and **Devil May Cry 3**.\n\nNot only that, PCSX2 offers many advantages not found on the original console. You get custom resolutions and graphics upscaling, which makes old games look stunning on modern displays. It also features virtual memory cards that are easy to share, a *save-state* feature that let you save your game at any exact moment, and an internal recorder for capturing high-quality gameplay.\n\n> **Note:** This guide has been updated to reflect the more modern and user-friendly interface of PCSX2 version 2.x, which brings a massive overhaul to how the emulator is configured.\n\n---\n\n## #1 File Preparation\n\nThe first step is downloading all the necessary files. **It is highly recommended** to download the package we have prepared below. I've bundled the latest version of the PCSX2 emulator with the required BIOS files in a single `.zip` package, adjusting the folder structure to match exactly what you'll see in the screenshots of this tutorial.\n\n\n\nIf you prefer to grab the files yourself, you can download the latest version directly from the [official PCSX2 site](https://pcsx2.net/), and source the necessary BIOS files from the [Retrostic site](https://www.retrostic.com/bios/pcsx2-playstation-2).\n\n> **Note:** If you choose to download from alternative sources, the visual guide below might look slightly different, as folder structures and filenames can vary.\n\n\n \n \n \n \n\n\n\n For the best experience, make sure your PC has a capable graphics card and all supporting runtimes, like DirectX and Visual C++, are installed. If you frequently encounter errors when launching games, I recommend grabbing this [AIO Runtimes package](/blog/fix-error-0xc000007b-aio-runtimes).\n\n\n---\n\n## #2 Installation & Configuration Process\n\nThe modern version of PCSX2 offers two types of installation: **Installer** and **Portable**. I always recommend the **Installer** method for beginners because it handles the shortcuts and keeps your configuration files neatly tucked away in your Documents folder.\n\n\n \n - Installer (.exe): The recommended method. This creates a Start Menu shortcut and saves config files in your Documents folder. Much neater.
\n - Portable (run `pcsx2-qt.exe`): Just extract and run. All config files stay in the extracted directory. Great if you want to carry the emulator around on a thumb drive.
\n
\n\n\n\n \n ### Extract the File\n Right-click the `.zip` file you downloaded and extract it to your preferred folder. Inside, you will see two sub-folders: `01. PCSX2` (which contains the installer) and `02. BIOS PS2`.\n \n 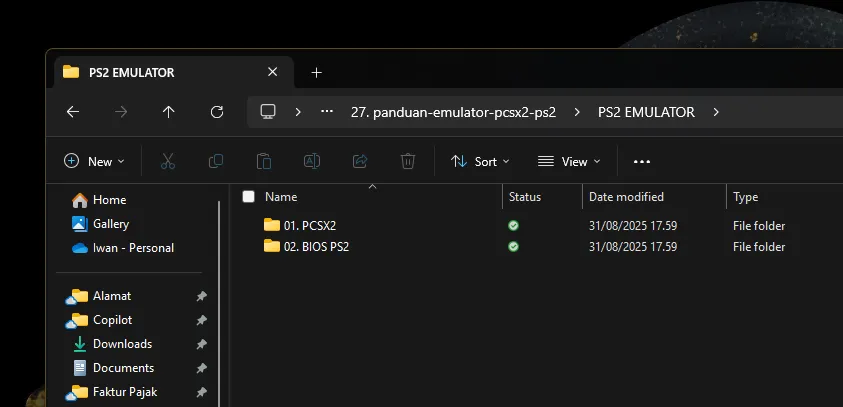\n \n \n ### Run the Installer\n Navigate into the `01. PCSX2` folder and run the `.exe` installer file.\n \n \n ### Complete the Configuration Wizard\n Follow the on-screen instructions. You'll be greeted by a short configuration wizard that guides you through the initial setup, from selecting your language to configuring your controller mapping. Make sure to follow each step carefully.\n \n\n\nIf you need a bit more visual help with the wizard, here's what each step looks like:\n\n\n 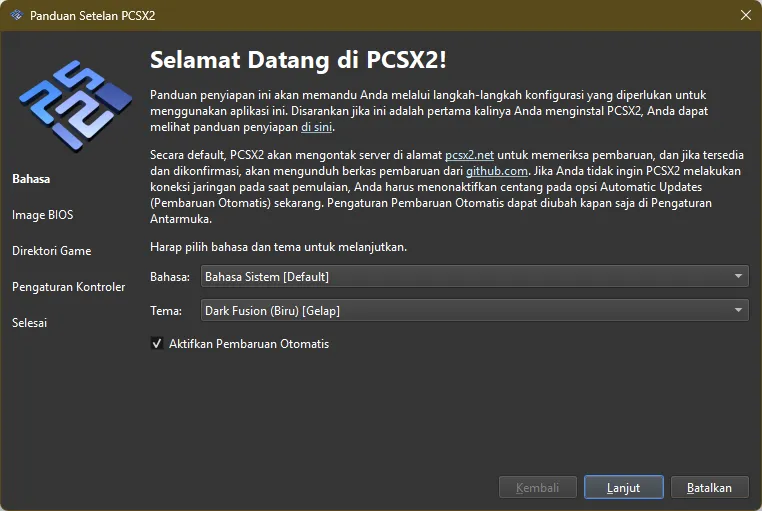\n 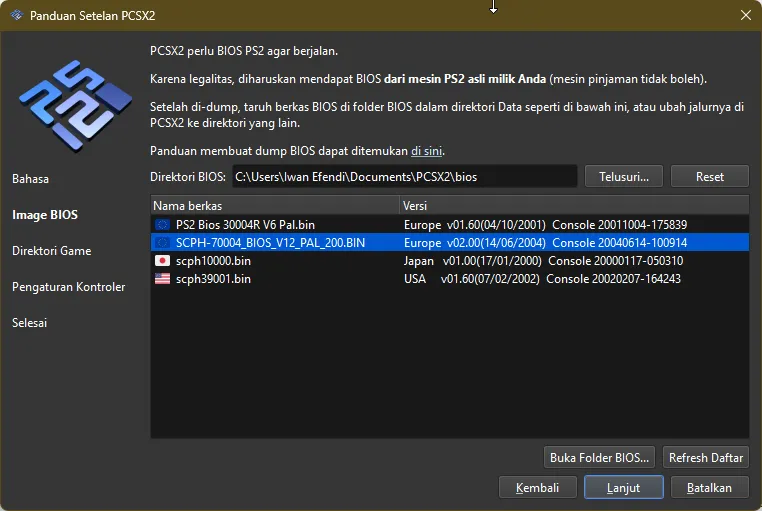\n 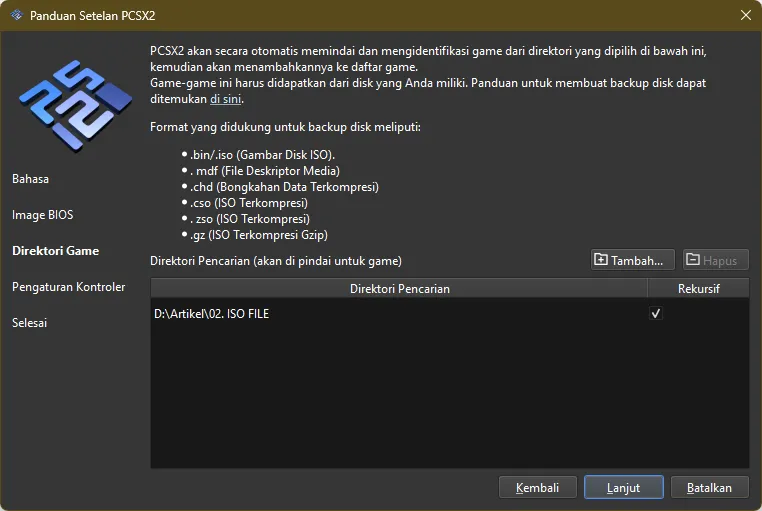\n\n\n\n 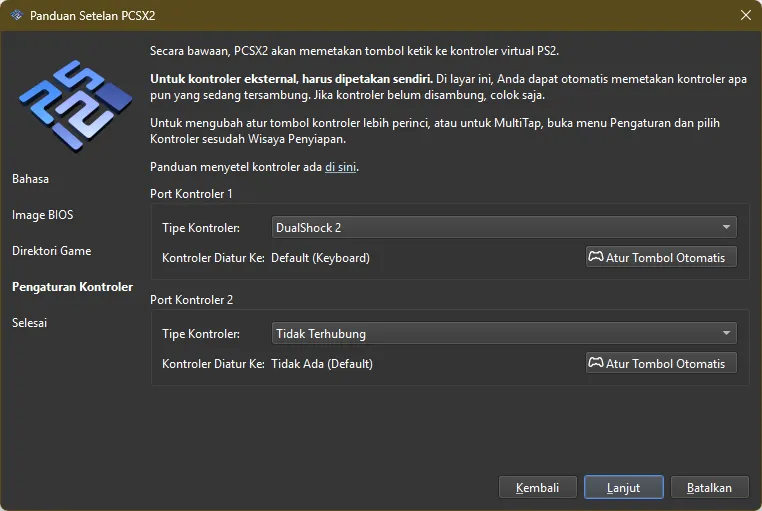\n 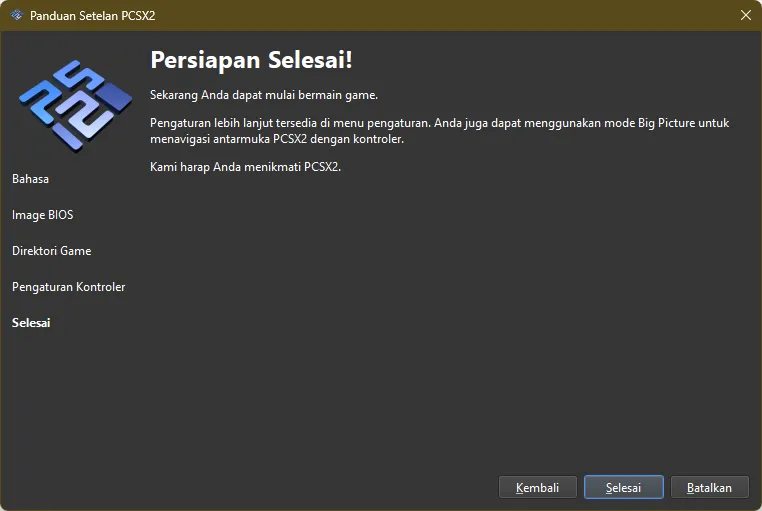\n 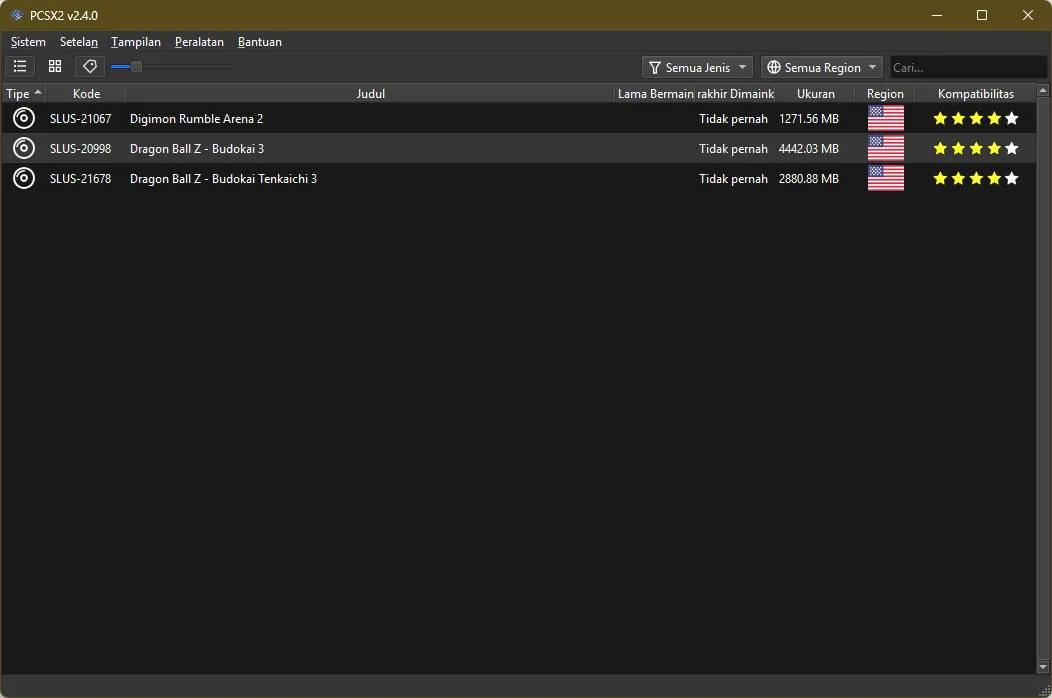\n\n\nOnce you're through the wizard, you'll arrive at the modern main interface of PCSX2. If you added a game directory during the setup, your game list will already be populated.\n\n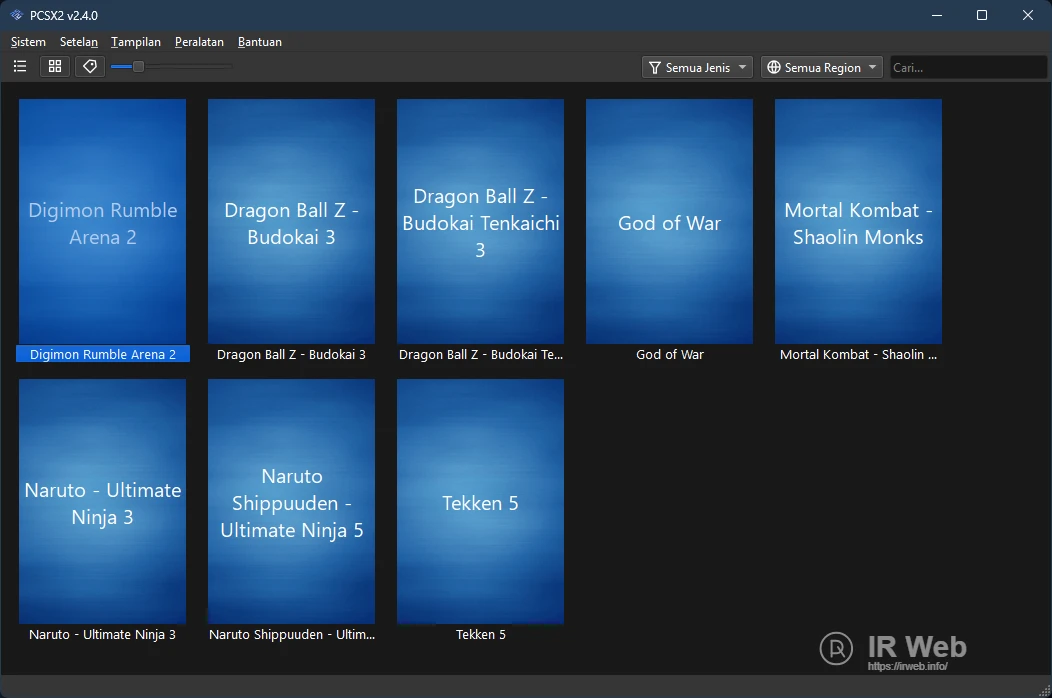\n\n---\n\n## #3 How to Run a Game (ISO File)\n\nKeep in mind that the emulator itself does not come with games. You'll need to source your own PS2 game files in `.iso` format. You can easily find them via Google by searching \"download ps2 game iso\" or by visiting preservation sites like [CoolROM](https://coolrom.com.au/roms/ps2/).\n\nRunning those games in the latest version of PCSX2 is incredibly straightforward:\n\n1. **Set the Game Directory (If you skipped it earlier):** If your game list is empty, simply navigate to **Settings > Game List** and click **\"Add\"** to select the folder where you keep your ISO files.\n2. **Start the Game:** Back in the main PCSX2 window, just **double-click** the title you want to play.\n\n\n\nBoom! Your game will launch. A connected USB controller or gamepad is usually detected automatically, but you can always dive back into **Settings > Controllers** if you need to tweak the mappings.\n\nEnjoy the trip down memory lane! If you run into any snags or have any questions about getting a specific game to run, just drop a comment down below.\n"}