Building a Floating Pill Header with Next.js and Tailwind
Iwan Efendi2 min
A technical deep dive into building a responsive, multi-view floating header using React Hooks and Tailwind CSS.
Baca dalam IDID
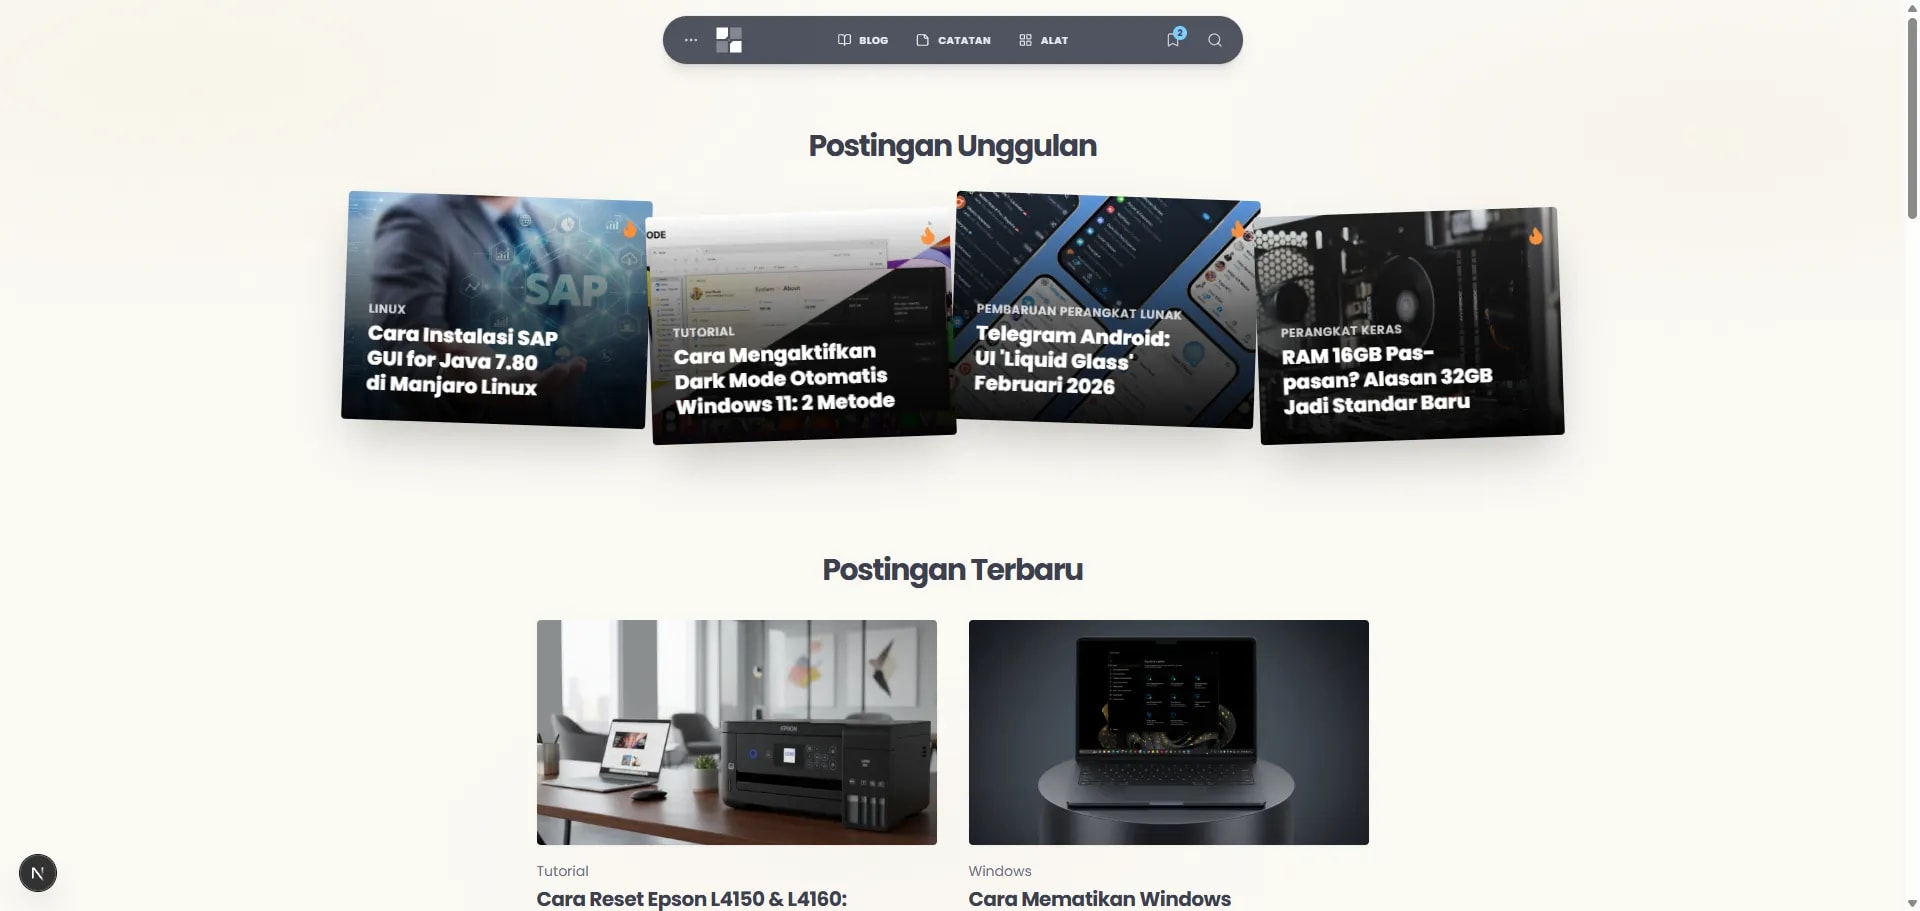
Zoom
The Case Study: UX Challenges & Design Goals
- Information Density vs. Screen Real Estate: A header needs to provide fast access to main pages, search, and reading lists, but must not crowd the viewport, especially on mobile.
- Dynamic UI Transitions: Expanding the search bar or opening a dropdown should feel fluid, without sudden layout shifts or jarring jumps.
- Scroll-based Behavior: The navigation needs to get out of the way when the user is reading (scrolling down), but reappear immediately when they look for it (scrolling up).
- Visual Contrast: In SnipGeek's structured, sharp layout, the header serves as a distinct, floating element that feels light and fluid.
Core Technologies
- Next.js App Router: For the component structure and server-side rendering.
- React Hooks: Primarily
useState,useEffect, anduseRefto manage state, side effects, and direct DOM references. - Tailwind CSS: For all styling, enabling rapid, utility-first design. We also use
clsxfor conditionally applying classes. - Lucide React: For the icons.
Step 1: The Basic Structure & Floating Position
The foundation is a<header> element with position: fixed.
<header className="fixed top-4 left-4 right-4 md:left-1/2 md:-translate-x-1/2 ... z-50">
  <nav className="relative ... rounded-full bg-primary/90 backdrop-blur-sm ...">
    {/* Content goes here */}
  </nav>
</header>
fixed top-4: This pins the header near the top of the viewport.left-4 right-4: On mobile, it spans most of the width.md:left-1/2 md:-translate-x-1/2: On medium screens and up, it centers itself horizontally.bg-primary/90 backdrop-blur-sm: This creates the semi-transparent, blurred glass effect.rounded-full: This gives it the "pill" shape.
Step 2: The Brain - View State Management
The most critical part of the header is managing what is currently being displayed. I use a singleuseState hook for this:
type ActiveView = 'none' | 'search' | 'menu' | 'readingList';
const [activeView, setActiveView] = useState<ActiveView>('none');setActiveView to change what is shown. For example, clicking the search icon sets the view to 'search', which in turn triggers conditional rendering for the search input and results panel.
The component's shape and styles also react to this state. When isSearchOpen is true, the nav element's width expands. When isMenuOpen is true, the border-radius changes from rounded-full to rounded-t-2xl to connect with the dropdown panel below it.
One subtlety worth noting: because the header is a Client Component, it sits outside the React Server Component tree that powers the rest of the page. If you're curious about how that boundary works at the protocol level, Why AI Crawlers Can't Read Next.js App Router Sites has a good breakdown of how the RSC Flight format separates server and client rendering.
Step 3: Dynamic Search Experience
The search functionality is a key feature.- State Transition: Clicking the search icon sets
activeView = 'search'. - Conditional Animation: CSS classes are toggled using
clsx. The main navigation links fade out (opacity-0) while the search input container fades in (opacity-100). - Auto-focus: A
useEffecthook triggers when the search view becomes active, automatically focusing the<input>element for a seamless user experience.const searchInputRef = useRef<HTMLInputElement>(null); useEffect(() => { if (isSearchOpen) { // A short timeout ensures the element is visible before focusing setTimeout(() => searchInputRef.current?.focus(), 100); } }, [isSearchOpen]); - Real-time Filtering: Another
useEffectwatches for changes in the searchquerystate. It filters a pre-loaded array of all posts and notes to show relevant results instantly.
Step 4: Smart Visibility on Scroll
A common UX pattern is to hide the navigation on scroll-down and show it on scroll-up. This is achieved with anotheruseEffect hook.
const lastScrollY = useRef(0);
const [isVisible, setIsVisible] = useState(true);

useEffect(() => {
  const handleScroll = () => {
    const currentScrollY = window.scrollY;
    // Show if scrolling up or near the top
    if (currentScrollY < lastScrollY.current || currentScrollY < 10) {
      setIsVisible(true);
    } else if (currentScrollY > 100 && currentScrollY > lastScrollY.current) {
      // Hide if scrolling down and past a certain threshold
      setIsVisible(false);
    }
    lastScrollY.current = currentScrollY;
  };

  window.addEventListener('scroll', handleScroll, { passive: true });
  return () => window.removeEventListener('scroll', handleScroll);
}, []);isVisible state then adds or removes classes that control the header's opacity and transform.
Step 5: The Little Details
- Escape Key: A global event listener is set up to close any active view (search, menu, etc.) when the 'Escape' key is pressed.
- Click Outside: A similar listener closes the views if the user clicks anywhere outside the header component.
- Responsiveness: The component gracefully transitions from a full-width mobile header to a compact, centered desktop header using Tailwind's responsive prefixes (
md:).
Precision Tech Update (February 27, 2026)
As part of the SnipGeek "Precision Tech" design overhaul, I have transitioned most of the site's components—such as article cards, code blocks, and images—to a sharper 4px corner radius. However, I intentionally decided to keep the header in its original full-rounded "Pill" shape. This creates a deliberate visual contrast, ensuring the navigation remains a distinct, floating element that feels light and fluid against the more structured, technical layout of the content below. This serves as a permanent record of our design evolution.FAQ
activeView state instead of multiple booleans like isSearchOpen, isMenuOpen, etc.?
A: A single enum-style state makes mutual exclusivity explicit and free. With multiple boolean flags you risk states like isSearchOpen: true and isMenuOpen: true coexisting, which creates impossible UI conditions. A union type ('none' | 'search' | 'menu' | 'readingList') means only one view can ever be active at a time, and TypeScript enforces it at compile time.
Q: Why add a 100ms timeout before auto-focusing the search input?
A: The timeout works around a browser rendering race condition. When activeView flips to 'search', React schedules the re-render, but the element may not be painted (and therefore not focusable) by the time the effect runs synchronously. A short delay lets the browser flush the layout before .focus() is called. An alternative is to use a useLayoutEffect with a requestAnimationFrame, but the timeout is simpler and reliable across all major browsers.
Q: Does the { passive: true } option on the scroll listener actually matter?
A: Yes, it matters for performance. Marking the listener as passive tells the browser upfront that preventDefault() will never be called, which allows the browser to handle the scroll on the compositor thread without waiting for JavaScript to respond. Omitting it on scroll-heavy pages can cause jank, especially on mobile. Always use { passive: true } for scroll and touch listeners that don't need to block the default behaviour.
Q: How do you prevent the "click outside" listener from firing on every click and degrading performance?
A: The listener is only attached when a view is active and removed when everything closes. The useEffect dependency array includes activeView, so the listener is cleaned up and re-registered only when that state changes—not on every render. Because the handler checks headerRef.current?.contains(event.target) before doing anything, even when attached it short-circuits immediately for the vast majority of clicks that land inside the header.
References
- Tailwind CSS — Responsive Design — Official docs covering the
md:prefix and breakpoint system used throughout the header. - React Docs — useRef — Reference for
useRef, covering both DOM refs (scroll tracking, input focus) and mutable instance variables. - MDN — EventTarget.addEventListener() passive option — Explains the
{ passive: true }option and its impact on scroll performance. - clsx on npm — Lightweight utility for constructing conditional
classNamestrings, used extensively in the header's animation logic.
Topics
Topics in this note
Explore related ideas through the topics connected to this note.
Share this article
Discussion
Preparing the comments area...