Download Epson L310 Driver & Installation Guide (Windows)
Iwan Efendi5 min
Download the Epson L310 driver for Windows, follow safe installation steps, check USB connection, and fix printer detection issues.
Baca dalam IDID
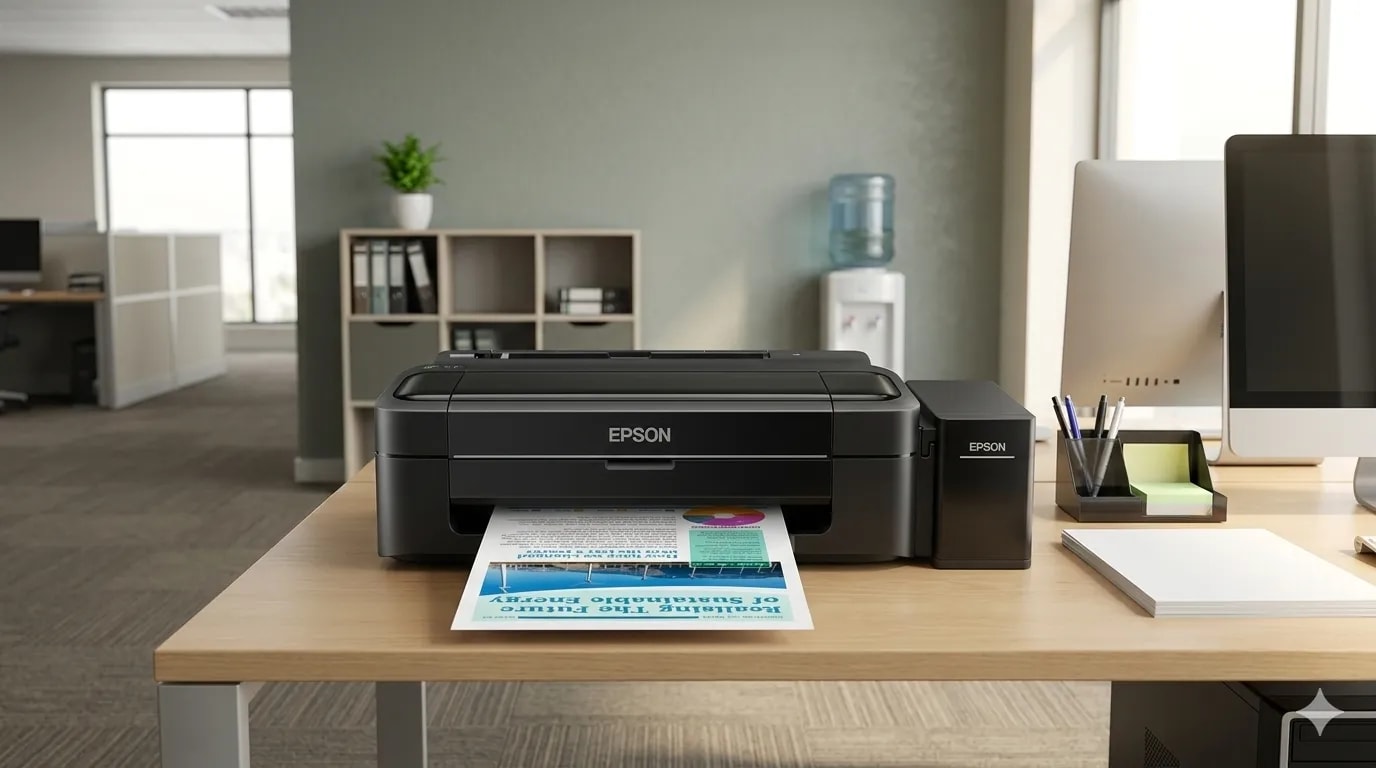
One of the topics I regularly cover on this blog is printer and laptop drivers, along with their installation guides. This time, I want to discuss the Epson L310 Printer, a popular ink tank printer that is still widely used because it is affordable and durable.
I have been using this printer since 2014, and it still works well to this day. To get the best print quality, I usually set the printer to high mode for important documents or images. Although it needs periodic maintenance, the Epson L310 remains useful as long as the driver, USB connection, and printer settings are installed correctly.
This guide is for Windows 10 and Windows 11 users who want to install the Epson L310 driver from scratch, fix a printer that is not detected, or make sure the driver matches the system.
The first step is to download the appropriate driver file. We have provided both the official Epson server link and a fast mirror link for your convenience.
Epson L310 Official Service Driver2.4 MBDownload
Epson L310 Printer Driver (x64)27.4 MBDownload
Before downloading, check these points:
If your printer is not an L310 but still part of Epson's L-Series, this guide can still help you understand the basic installation flow. For Linux/Ubuntu, read the Epson L310 driver guide for Ubuntu/Linux.
After downloading the application, follow these steps in the correct order to ensure a smooth setup:
After the installation is complete, try printing a test page first so you know the driver, USB port, and printer communication are working correctly.
After installation, do this quick check:
For efficient use and to maintain the longevity of your printer, it is important to understand the basic settings.
 In the Maintenance tab, you can perform maintenance tasks like Nozzle Check or Head Cleaning if print quality is poor or streaky.
For another Epson printer issue, you can also read the Epson L4150/L4160 resetter guide. That article covers a different problem, but it is useful when the issue is Service Required or the ink pad counter, not the driver.
Quick summary
Download the driver first, run the installer as administrator, connect the printer via USB when asked, then print a test page to confirm the driver and port are active.
Download the L310 Printer Driver
Important Note
Please choose the driver according to your Windows version. For most modern laptops and PCs, Windows 64-bit is recommended. Let us know if any links are broken.
Prioritize the official source
If possible, use the official Epson link first. The mirror is provided as a backup when the official server is slow or difficult to access. Do not install drivers from files with suspicious names, sizes, or sources.
| What to check | Recommendation |
|---|---|
| Windows version | Windows 10/11 64-bit for most modern laptops |
| Printer connection | Use a direct USB cable, not an unreliable USB hub |
| Permission | Run the installer with administrator access |
| Old driver files | If a previous install failed, uninstall the old driver first |
| File source | Prioritize Epson support pages or links you trust |
Step-by-Step Installation Guide
1
Open the Installer
Open the downloaded L310 printer application by double-clicking its
Open the downloaded L310 printer application by double-clicking its
.exe file. If a Windows User Account Control (UAC) pop-up appears, select Yes.2
Initialize Setup
You will see the "Set up" window. Ensure the L310 series is selected, then click OK.
You will see the "Set up" window. Ensure the L310 series is selected, then click OK.
3
Select Language
Select your desired language, then click OK to proceed to the next stage.
Select your desired language, then click OK to proceed to the next stage.
4
License Agreement
In the "License Agreement" window, read through the terms, select Agree, and then click OK.
In the "License Agreement" window, read through the terms, select Agree, and then click OK.
5
Connection & USB Detection
Wait until the installation process is complete. After that, make sure your printer is connected to the computer via USB and is turned on. The system will automatically detect the port. Click OK.
Wait until the installation process is complete. After that, make sure your printer is connected to the computer via USB and is turned on. The system will automatically detect the port. Click OK.
6
Finalizing Installation
The installation will continue and complete. You will see a notification that the printer is ready to use.


The installation will continue and complete. You will see a notification that the printer is ready to use.
How to check whether Epson L310 is installed correctly
- Open Settings > Bluetooth & devices > Printers & scanners.
- Make sure EPSON L310 Series appears.
- Click the printer, then open Printer properties or Printing preferences.
- Try Print Test Page.
- If the test page prints normally, the driver is installed correctly.
Basic Printer Settings
- Open Settings > Bluetooth & devices > Printers & scanners.
- Find and select EPSON L310 Series, then click Printing preferences.
- In the Main tab, you can adjust:
- Paper Size: Usually A4.
- Orientation: Portrait or Landscape.
- Color: Color or Grayscale printing.
- Quality: Standard (faster) or High (slower, better results).
Zoom
Troubleshooting Epson L310 not detected
| Problem | Common cause | Solution |
|---|---|---|
| Installer waits for the printer | USB cable not connected or printer is off | Turn on printer, change USB port, avoid USB hub first |
| Printer appears but cannot print | Wrong port or stuck queue | Clear print queue, restart Print Spooler, try a test page |
| Prints are streaky | Clogged nozzle or ink flow issue | Run Nozzle Check and Head Cleaning from Maintenance |
| Driver fails to install | Corrupt file or old driver conflict | Download again, uninstall old driver, restart Windows |
| Printer offline | Windows saved offline status | Open printer queue and disable Use Printer Offline |
Epson L310 Driver FAQ
Can Epson L310 be used on Windows 11?
Yes. In most cases, the Windows 10/64-bit driver still works on Windows 11 as long as the installer runs correctly and the printer is detected via USB.Should I use the official Epson link or the mirror?
Use the official Epson link first. The mirror is only a backup so users can still access the file when the official server is slow or unavailable.Why is the printer not detected during installation?
The most common causes are a bad USB cable, printer not turned on, old driver conflict, or the installer not being run with administrator access.Do I need extra software besides the driver?
For basic printing, the main driver is enough. Extra utilities are only needed if you want more complete maintenance or printer settings.Why are Epson L310 prints streaky after installing the driver?
That is usually not a driver issue. Try Nozzle Check and Head Cleaning, then make sure the ink is not empty and the paper is suitable.References
Topics
Topics in this article
Explore related topics and continue reading similar content.
Share this article
Discussion
Preparing the comments area...

